How to Repair Manholes with Chemical Grouting
In the last decade, sewer system owners have become more cognizant the role manholes play in their system’s overall inflow and infiltration (I&I) problems.
One of the solutions to these issues at, and around the manhole, is chemical grouting. These products are used to stop leaks fast and solve the problems that cause them. Leaks are symptoms that appear at the surface, but the causes are much deeper. Unlike surface patches, chemical grout solutions are designed to stop leaks at their source. That’s the difference between a temporary fix and a permanent solution.
This how-to article offers up keys steps to chemical grouting manholes including materials and equipment needed to successfully complete the job.
Problem: Deteriorated mortar joints and defects around pipe penetrations allows ground water and soil to infiltrate manholes causing unnecessary treatment, wear and tear on equipment, and cave-ins around the structure.
Scope of Work: Sealing deteriorated mortar joints and defects in brick manholes by injecting resin and water using a two-component pump.
Solution: Leaks can be sealed, and surrounding soil stabilized with the injection of resin, preventing the need for excavation and replacement.
A hydrophilic, single-component polyurethane resin will be injected with water using a two-component pump that is either fixed ratio (8:1) or variable ratio. This method is called twin streaming. It can also be injected as a single component that reacts with groundwater already present. However, experience indicates that less material is used if mixed with water just prior to injection. “Twin streaming” with a two-component pump also generates a better-quality gel. A two-component pump that mixes the product using or with an “f-valve” just before it enters the wall is needed since it only has a 45-60 second pot life.
Gel Reinforcing Agent can also be added to the water side of the mix. This is a latex additive that increases the strength and flexibility of the resin. It also helps to reduce shrinkage during dry cycles. Add the Gel Reinforcing Agent at a ratio of 6 to 8 parts water to 1 part Gel Reinforcing Agent. Then use this solution to mix with the resin at 8 parts prepared solution to 1 part resin using a two-component pump.
The resin can also be used with oakum to seal larger defects or to form a custom fit flexible seal around pipe penetrations.
Key Steps to Success
Safety Considerations
- Carefully read SDS prior to handling any chemical.
- Always wear safety goggles when drilling, grinding, flushing, injecting or handling resins.
- Always wear protective clothing, chemical resistant gloves and safety goggles at all times when handling resins. Blowouts can occur when injecting resins at high pressure.
- Be aware of potential electrocution hazards when working with power equipment in wet environments. Keep water away from electrical cords and electrical equipment.
- Make sure no loose clothing can come into contact with moving mechanical equipment.
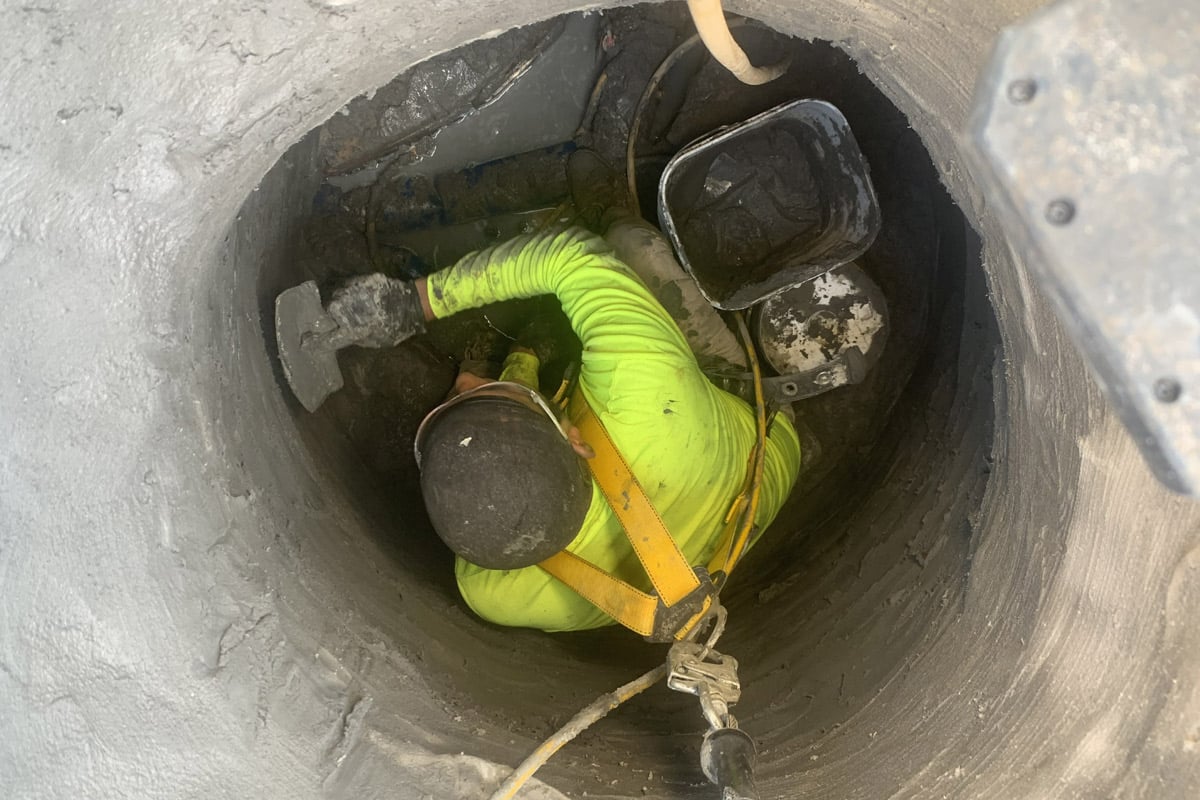
- Follow all OSHA confined space entry requirements where applicable.
- Keep first aid kit (eye wash, bandages, etc.) present on site with easy access.
Materials Needed
- Resin
- Gel Reinforcing Agent
- Brass F- Valve
- Stainless wall stinger nozzle
- Oil-free/dry oakum
- Prime Plug 1, 2 or 3
- Flush
- Empty 5-gallon pails
Equipment Required
- Rotary hammer drill
- 1/2” drill bits for stainless wall stinger nozzle
- Two-component low pressure pump
- Flathead screwdriver (for applying oakum)
- Hammer (for seating wall stinger)
- Safety goggles
- Chemical resistant gloves
- Tyvec suit
Curtain Wall Grouting
Before working in the manhole structure, it’s important to repair the soils around the structure. Curtain wall grouting is the process of injecting a hydrophilic, water-activated polyurethane resin into the outside of the manhole. Doing so will allow the material to migrate and soak into and against the leaking mortar joints and around pipe penetrations, creating an impenetrable gel or foam curtain while also stabilizing the loose soils surrounding the manhole.
Any future soil or groundwater pressure pushes the polyurethane grout against the structures, reenforcing the seals, unlike surface-applied repairs on the inside where the pressures could pop the patch loose.
Identify Leaks & Defects in the Manhole
Start with the leaking areas and after sealing, check for infiltration that has migrated to other areas.
Manhole Repair
First, Drill 3/8- to 5/8-in. injection holes through the manhole at 120-degree angles from each other at (10 o’clock, 2 o’clock and 6 o’clock) on the same plane of elevation. Rows should be separated no more than three vertical feet, and the holes should be staggered with the holes in the rows above and below. Provide additional injection holes near observed defects and at the pipe seals.
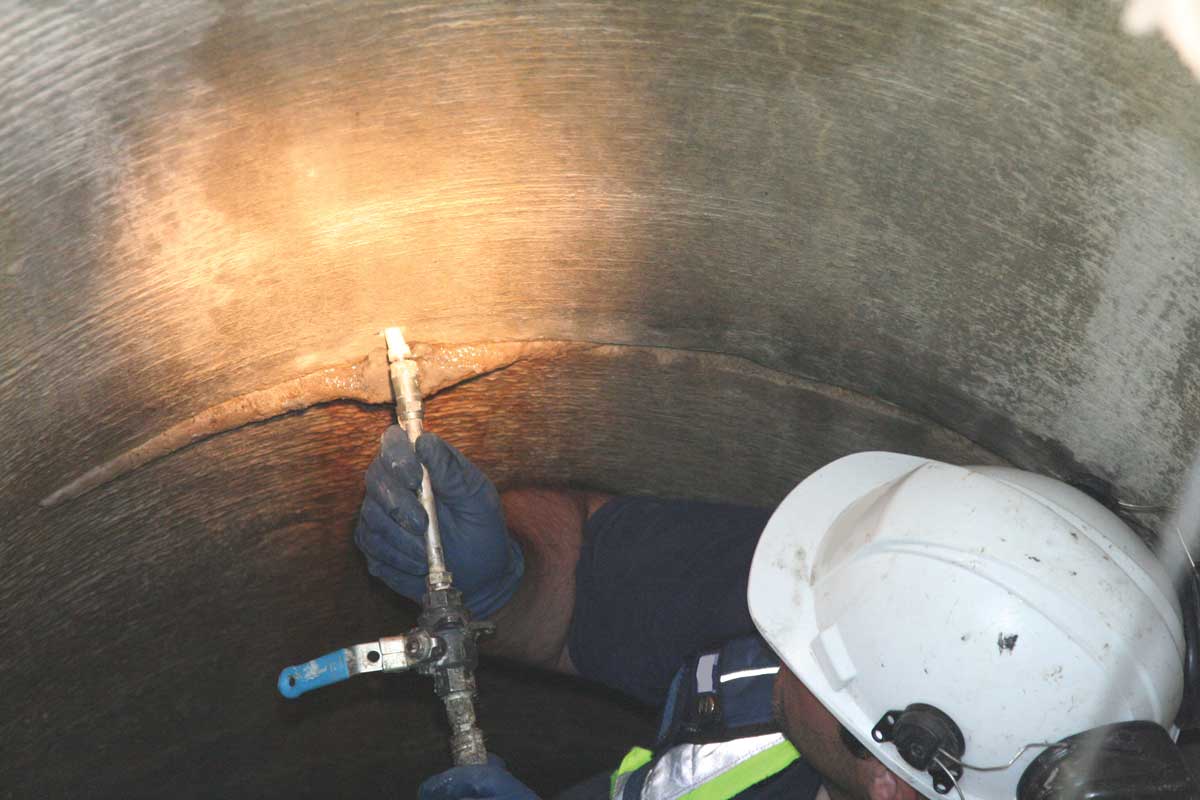
Inject grout through the holes under pressure with a suitable probe. Injection pressure should not cause damage to the manhole structure or surrounding surface features. Grout should be injected through the lowest holes first. Repeat the procedure until the manhole is externally sealed with grout.
Injecting through the manhole wall to the exterior will allow the Prime Flex Hydro Gel SX to migrate and be pulled back into the defects by the hydrostatic flow of the leaks. The Hydro Gel SX will flash set to form an impenetrable foam / gel curtain sealing off all leaks and stabilizing soils on the external side of the manhole.
The injection holes can be plugged with oakum until resin has set. Holes then can be sealed with epoxy gel or other plug offerings.
Kevin Anthony is marketing manager with Prime Resins and Logiball Inc.