How to Maximize Efficiency and Profitability In 4 Questions
In the competitive world of HDD, the equation for success hinges on two pivotal factors: efficiency and profitability. The key to mastering this equation lies in your tooling choices. This comprehensive guide offers step-by-step instructions to ensure you’re making the best decisions for your HDD operations.
Understanding the Importance of the Right Tooling
Before diving into the specifics, it’s crucial to grasp why the right tooling is so significant. In the world of HDD, using incorrect or suboptimal tools not only slows down operations but can also lead to expensive repairs and downtime. It’s a classic case of penny-wise, pound-foolish, where short-term savings can lead to long-term losses.
1. What type of setup do I need?
The first step is to decide on an optimal setup for the job type. Some jobs require complete setup changes, rather than simple size or ground-type customizations. Here are some setup variations that may suit your job:
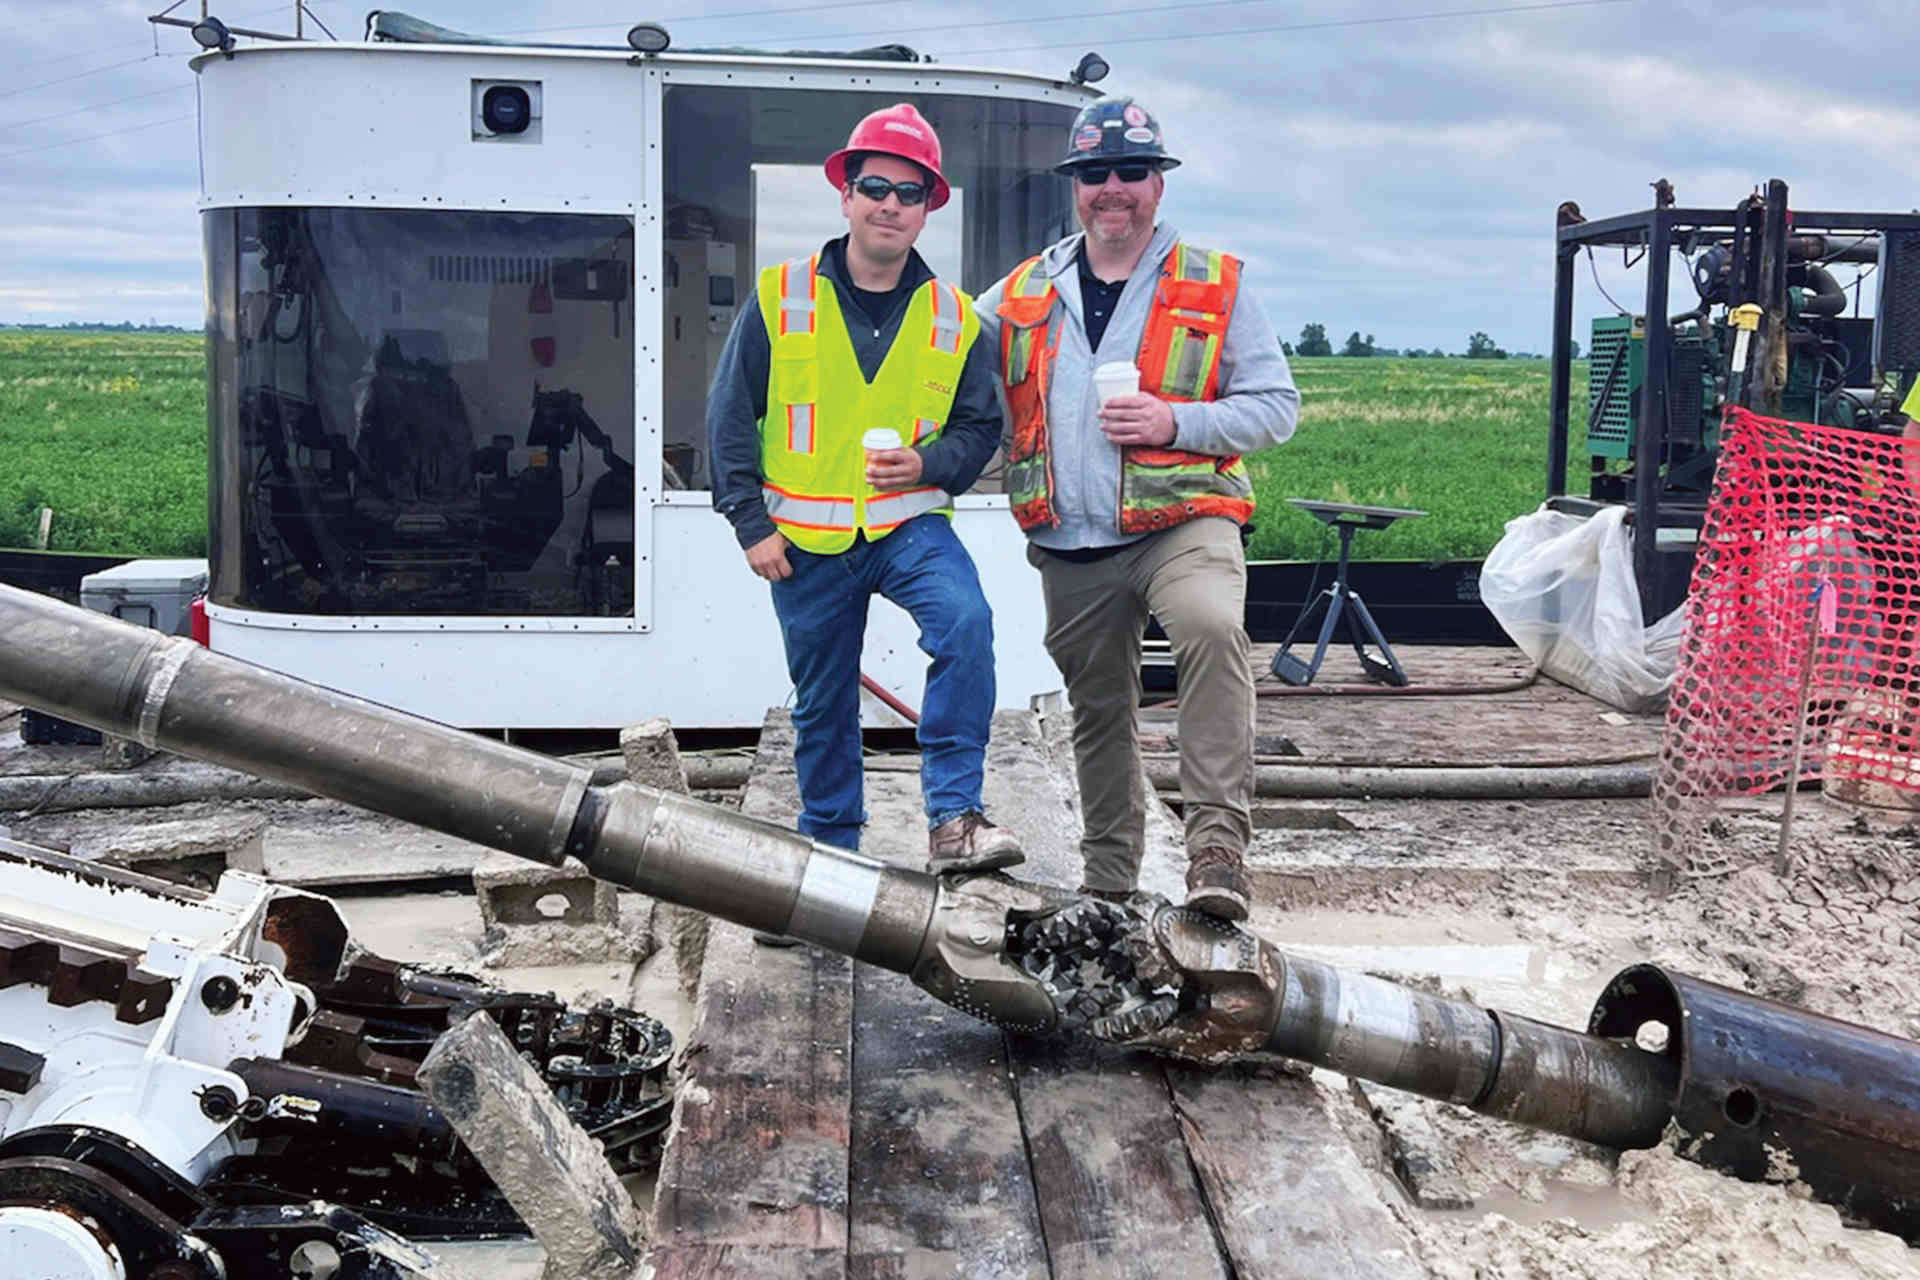
- Traditional Pilot Bore & Pullback: This is a standard setup that doesn’t have special circumstances for specialized tooling outside of the customizations needed for ground type. It typically entails a quick-disconnect lead rod, housing, bit for the pilot shot, and a reamer with a pulling eye or swivel on a pullback.
- Direct Pullback: You might opt for this setup in situations where the ground type is forgiving, and the hole diameter is around 12” or less. It usually involves a lead rod and housing with a bit or blade, but the housing can be converted to a reamer and/or the same bit can have a pullback device directly attached to it for “direct pullback” of the product without disassembling.
- Service Shot & Pullback: This often is a direct connect setup (no lead rod) with a smaller diameter housing with a shorter complete setup, less fluid use, tooling with fewer teeth that will catch unmarked utility, and a direct pullback option. You’ll opt for this setup only if drilling very short distances…such as service line shots.
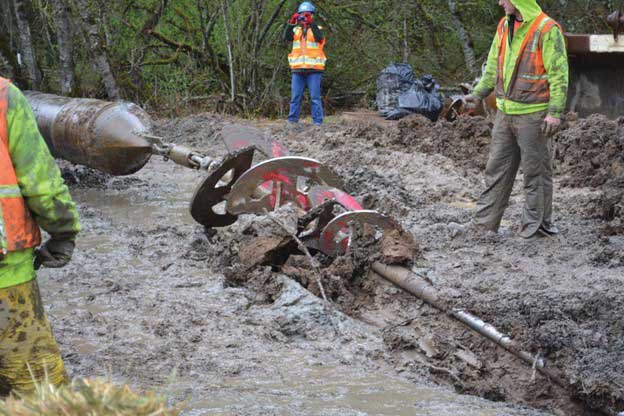
- Rock Drilling Setup: This is the other end of the spectrum from a service shot. Depending on the product, it can range from 6” holes to Maxi size. You may need to opt for a larger diameter housing with a thread-on bit or even a high-flow housing if the job requires it. Some jobs may even need a mud motor. The pullback is usually a larger reamer that is specialized to the ground and may need a barrel stabilizer with an appropriate swivel. There are lots of considerations when considering a rock drilling setup.
2. What Is The Right Pilot Hole Bit?
After deciding what type of setup your job requires, the next step in your HDD project is drilling the pilot hole, and this is where precision begins.
- Size of the Final Hole: Start by considering the pipe’s diameter and quantity. Will you need to ream out the hole to step up the diameter after the pilot shot? How large of a bit do you need to get your pilot hole large enough that the smallest stage of the reamer can fit? This will give you an idea of the size of the bit you need.
- Select by ground and conditions: The goal is to select a bit that allows you to drill a minimal yet sufficient hole size, ensuring safe passage for your product and avoiding disturbances to existing utilities. Toothy bits may snag existing utility that may make dense utility areas dangerous. Domed carbides move cobblestones for better cutting efficiency, But conical carbides fracture shale better. Each ground and job is unique, so choose based on those conditions, rather than the price of the bit alone.
3. What Are My Variables or Unknowns?
The unpredictability of soil types is a constant challenge in HDD. Here’s how to prepare:
- Conduct Soil Inspections: Examine the soil in both the entry and exit pits. Getting a feel for the soil composition can guide your bit choice.
- Anticipate and Adapt: Choose bits designed for the specific soil type you’re likely to encounter. For tough soils like shale, a bit with sharp teeth can make a significant difference, as we mentioned before, but make sure you can compensate for unknown ground variations on the fly.

4. What Am I Risking?
In HDD, we have to make decisions all the time. Sometimes we make a decision that seems like an efficiency gain, but it’s actually a risky shortcut. Taking shortcuts can be tempting but is never a good idea. Here are a couple of inadvertent shortcuts that we have seen that can yield major delays or even production-draining disasters:
- Under-Sizing Tools: Using tools that are too small for your rig can lead to significant tool damage and operational downtime. If you are waiting for a new tool to arrive…you are still paying your crew, and that is far more than the cost difference of the right-sized tool to begin with.
- DIY Modifications: Adding cutters or making other modifications to extend tool life can unbalance the tool, leading to inefficiencies and potential breakages. Apart from voiding any warranty, this is simply dangerous for many reasons. Safety is the top concern, but unexpected things can happen when a tool that has been field-tested and recommended for a specific use is suddenly modified for a different use.
Conclusion
By following these steps, you can significantly safeguard and enhance the efficiency and profitability of your HDD operations. Remember, in HDD drilling, as in many technical fields, success is a product of preparation, the right tools, and a committed team. Ensuring all these elements are in place will not only lead to the successful completion of current projects but also lay the groundwork for future success in this challenging yet rewarding field.
Joshua Parker, Director of Marketing & eCommerce, Melfred Borzall