Milling Away Failed CIPP Liners
We all know that when a cured-in-place pipe (CIPP) liner fails it can be a huge headache, and potentially an expensive mistake. So, what can you do about it?
If the CIPP liner fails you can attempt to resolve the situation with a mainline robot, high pressure water jetting or in the worst-case scenario by excavation. Another option is milling it out. The Maxi Power+ Picote Miller was designed specifically for this type of work.
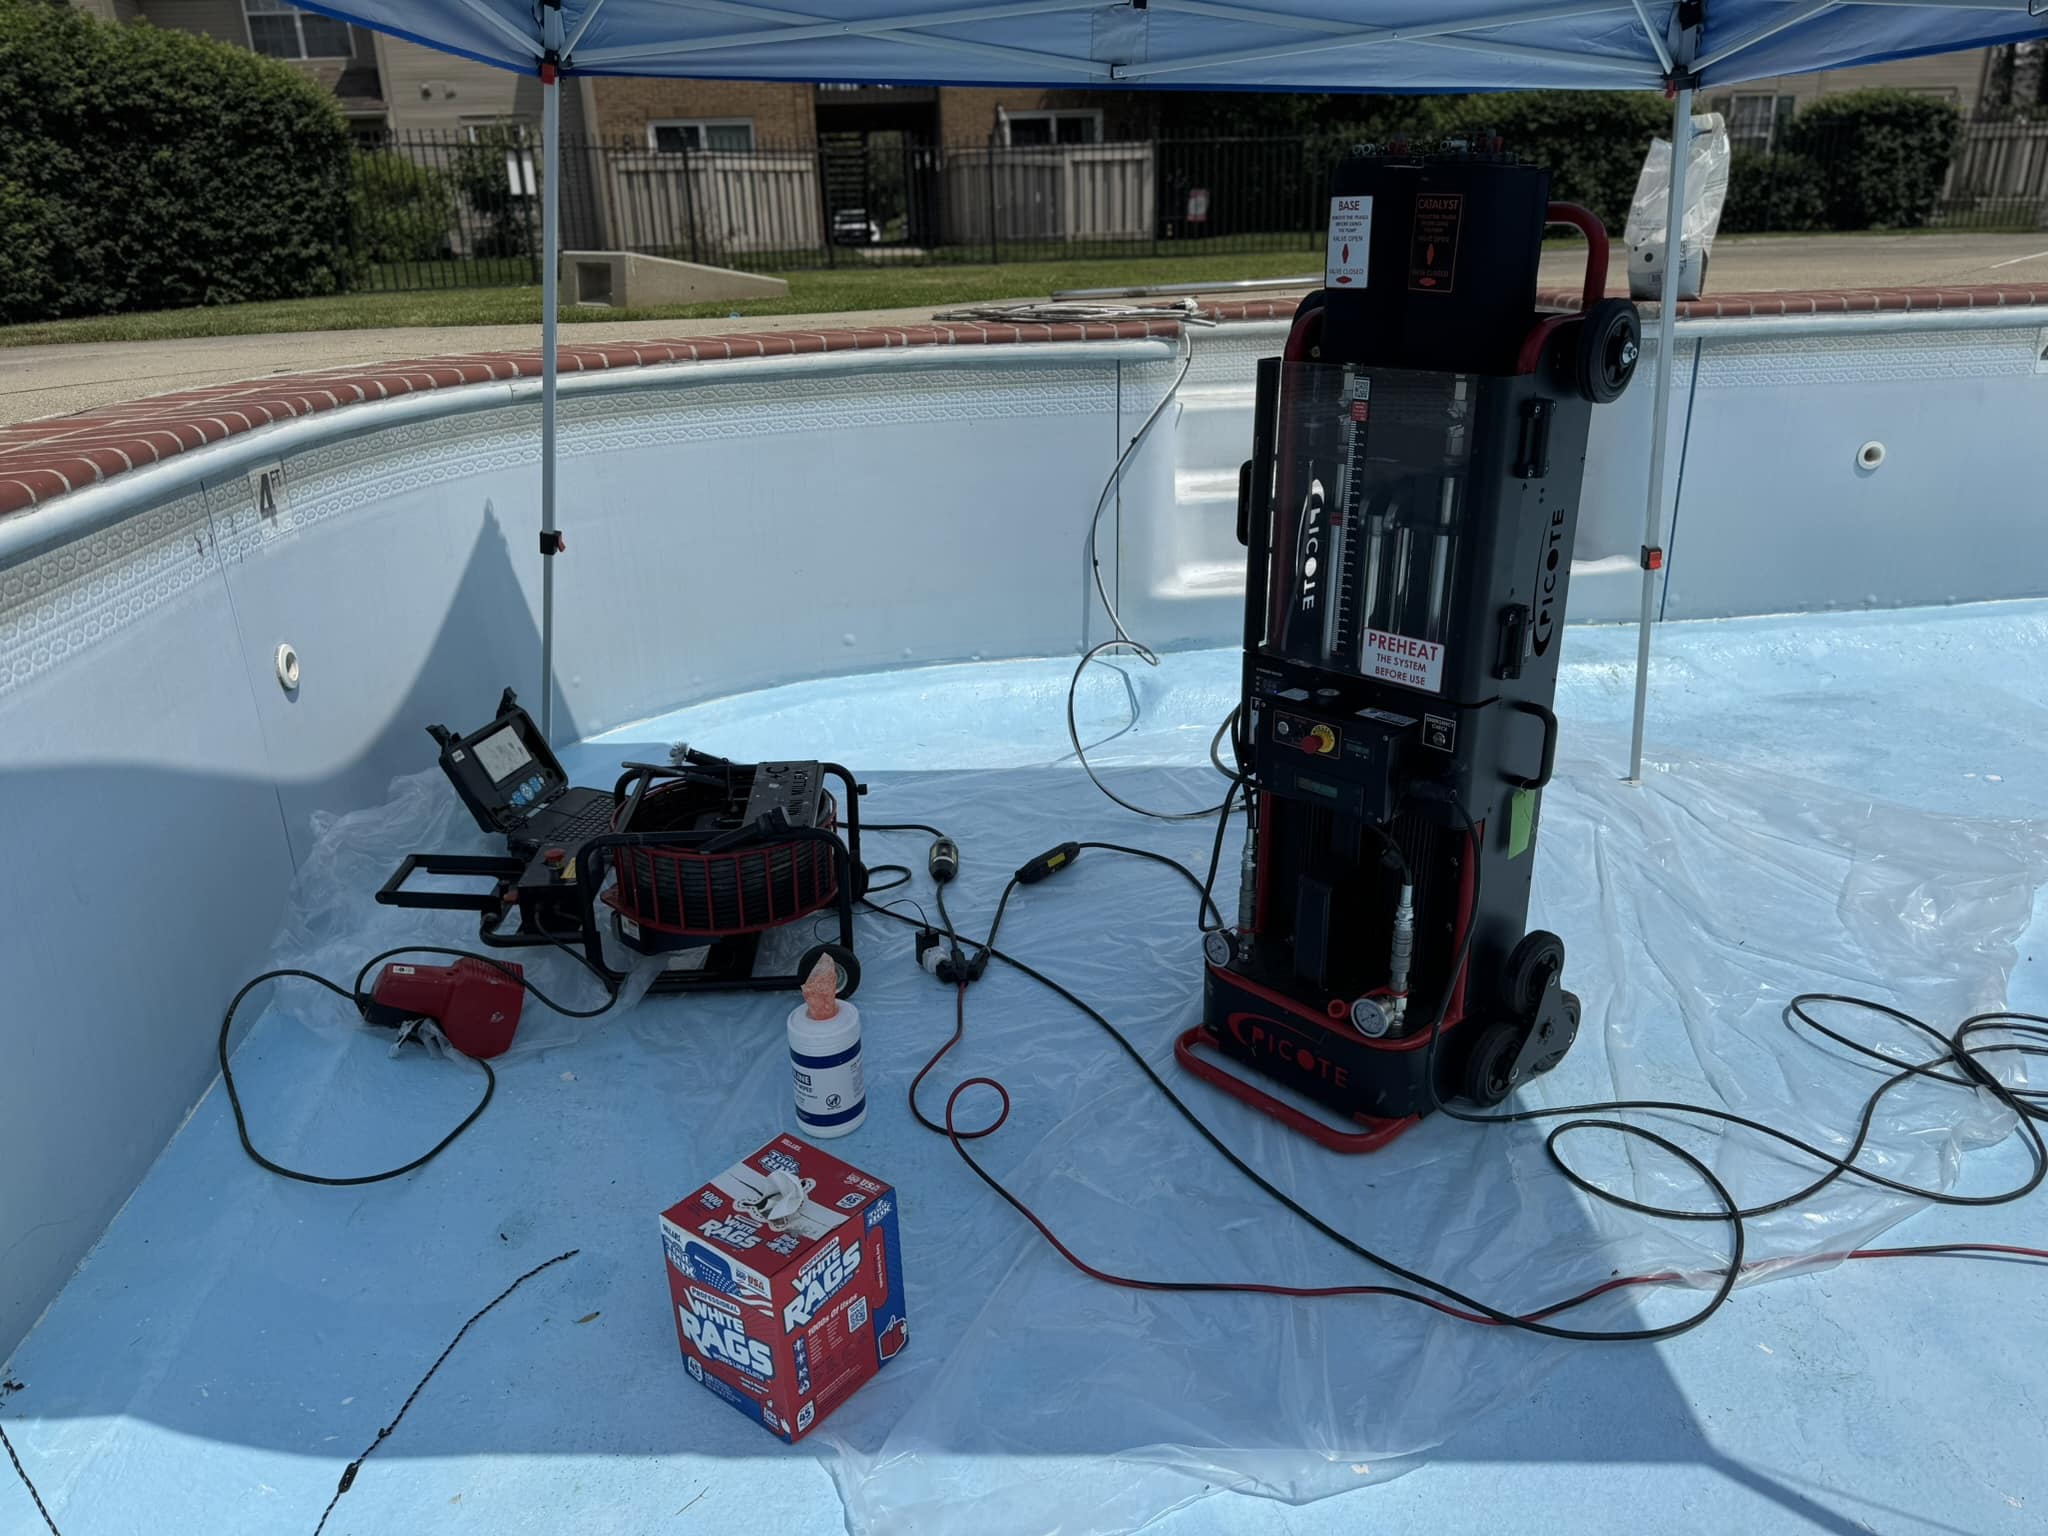
The Maxi Power+ is an electric, three-phase 400v insulated machine requiring an earthed supply, like the Picote Generator. The machine power supply features armoured cabling for added security. The cable rotates inside an outer protective cover, making it safe to handle, and running at up to 1,500 rpm this is a high-speed and powerful solution. An electric safety clutch kicks in if the operator experiences any problems and can be reset by taking the foot off the operator presence control (OPC) foot pedal and then starting it up again.

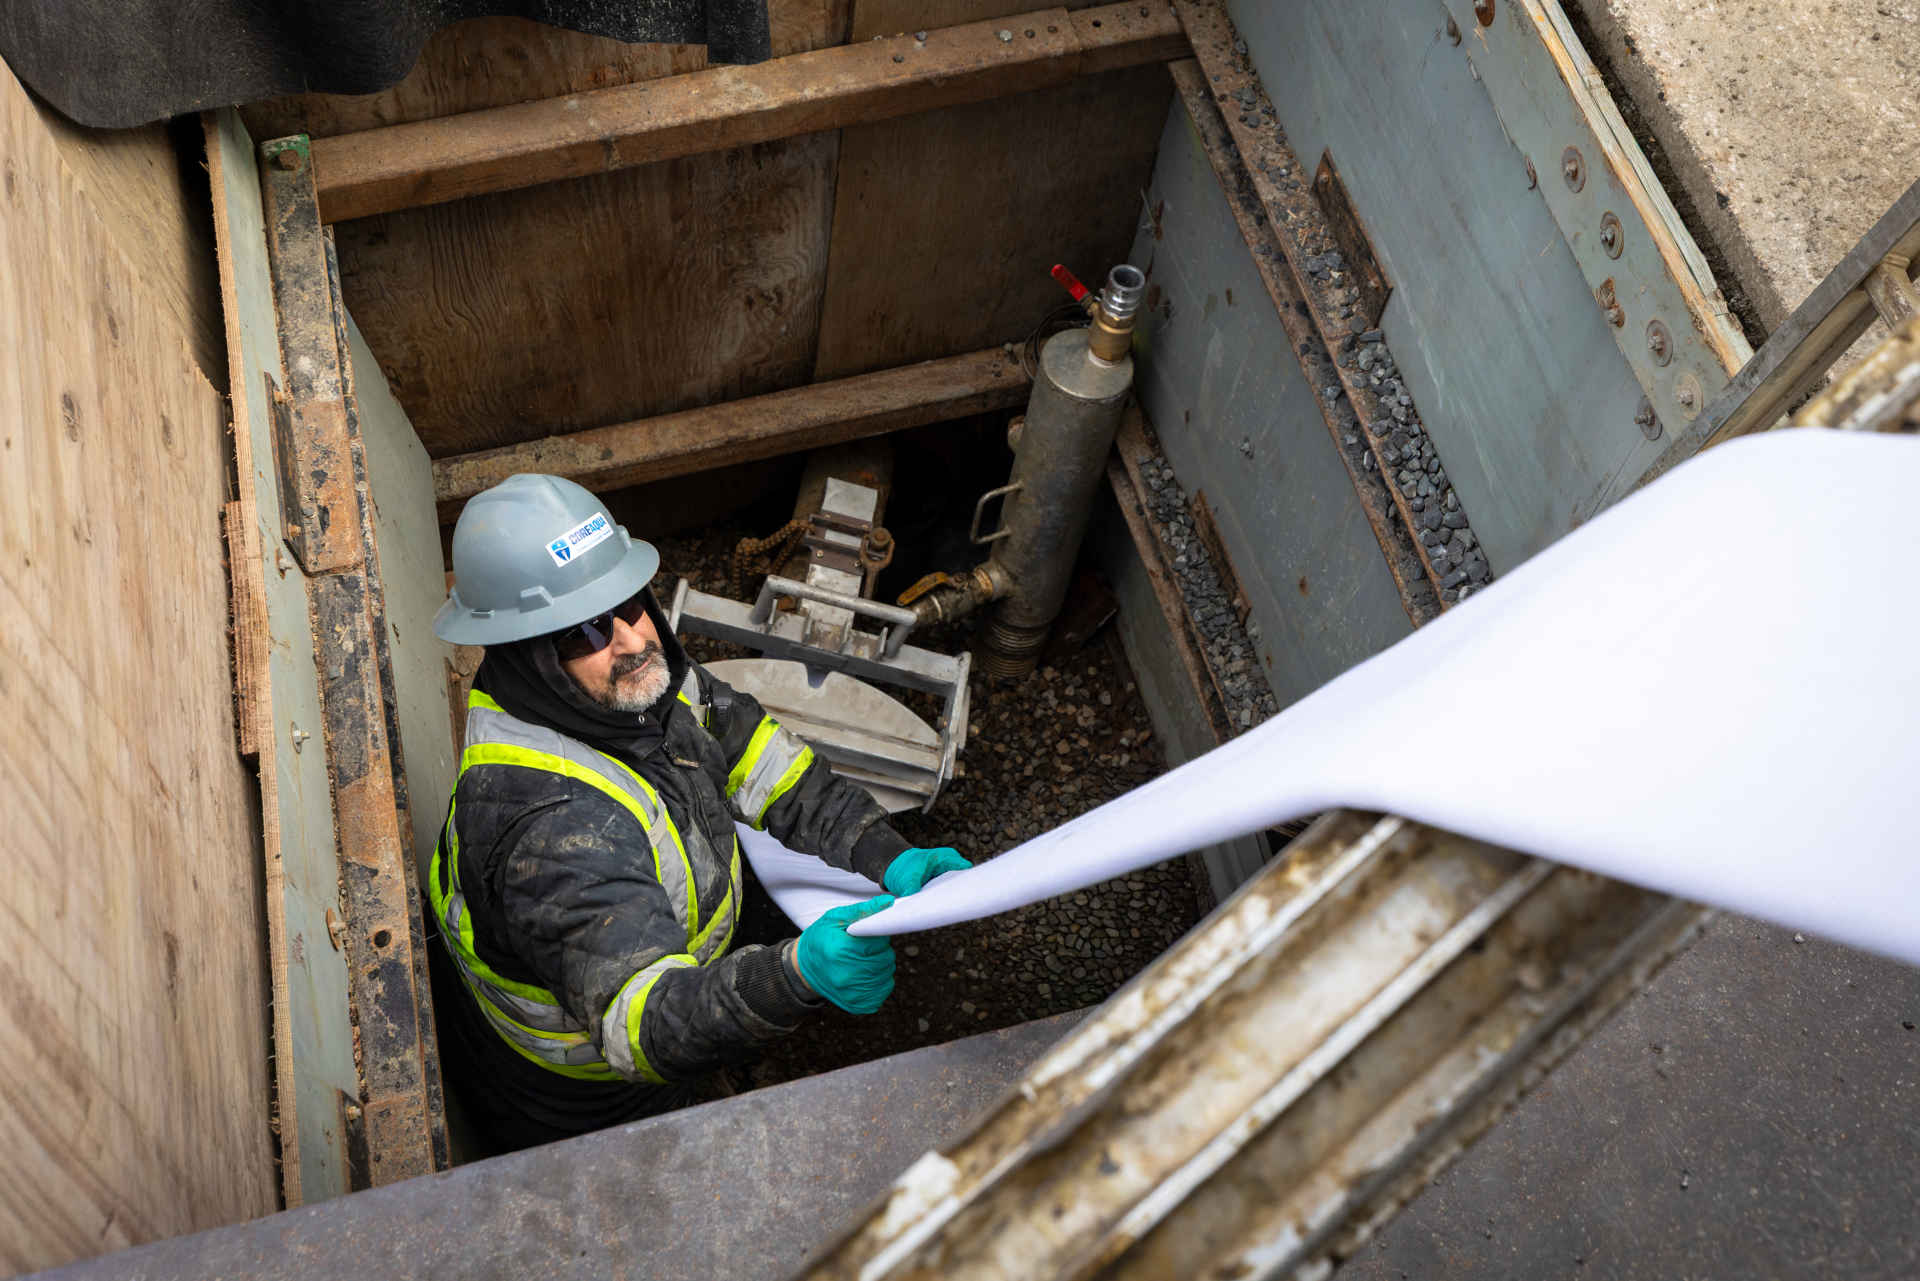
A detachable control box means that you can operate close to the work area, especially useful in case of an emergency, with an emergency stop button which can be deployed instantly in case of any problems. Due to the flexibility of the system the operator does not need to work inside the manhole. With low vibration values and noise emissions, this is a truly operator friendly machine. A variety of heavy-duty and specialized tools can simply be attached to the cable and pushed down the pipe to get to work.
Things to Consider
There are many factors that must be considered when removing a failed liner.
- What is the pipe diameter and the pipe material?
- What is the nature of the CIPP failure?
- How far does it go?
- Are there any bends, and if so, how many?
- What are your access points?
As a guide, we say that inside any 6-in. pipe you can generally remove 10 to 16 ft of failed CIPP liner per hour, no matter the situation or type of CIPP liner (UV, polyester, silicate, epoxy, etc).
The step-by-step process of removing a failed lining is generally dependent on the type of failure, pipe material and pipe diameter.
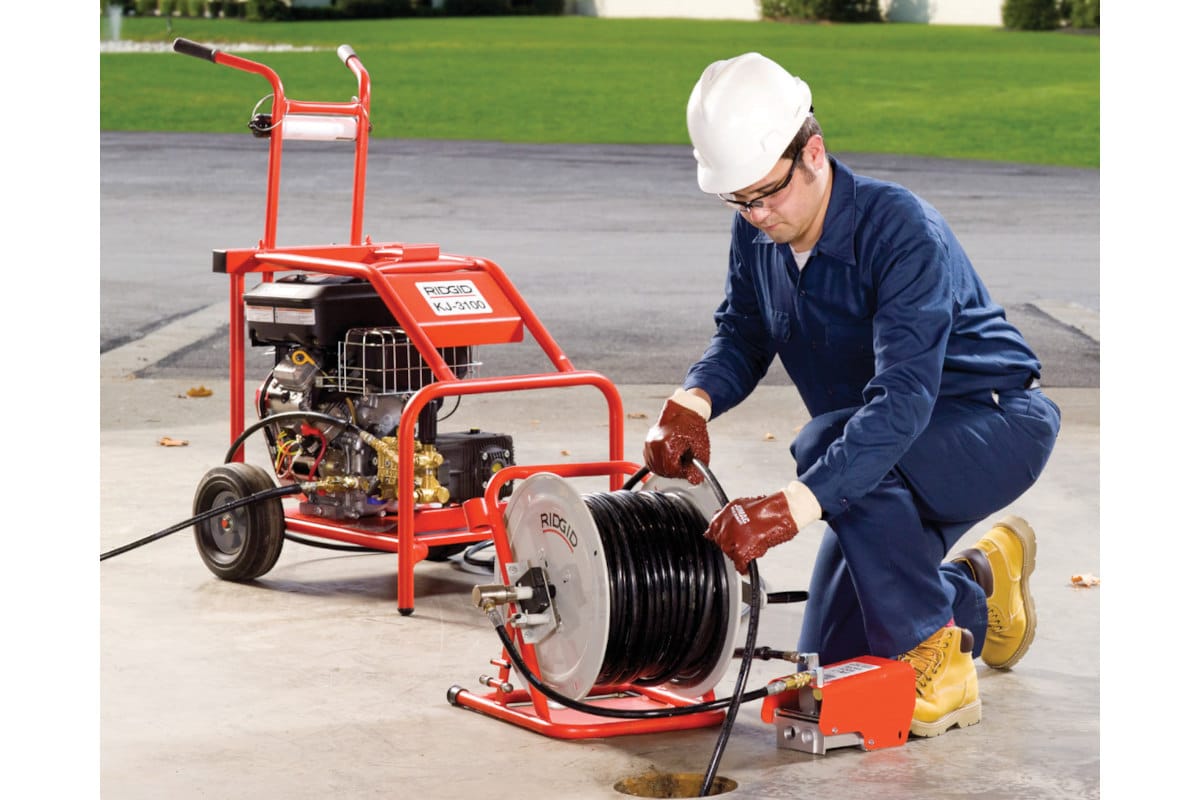
For pipes up to 6 in. in diameter you can use the Picote Maxi Miller, and for pipe diameters from 6 in. up to 12 in. you can use the Maxi Power+. Both have a maximum working length of 130 ft (including extensions). The Picote Maxi Miller requires a 110v, 30 amp power supply and usually requires a generator.
The correct selection of tools for the Maxi Power+ is dependent on whether the lining has fully or partially collapsed. For partially collapsed liners select the Front Drill Head, and for fully collapsed liners use the Smart Crusher head. If you’re not sure about the collapse, select the Smart Crusher head.

When using the Maxi Power+ to remove failed linings in 6 to 9 in. pipes the step-by-step process is to:
- Mill out as much of the failed lining as possible using the Smart Crusher+.
- Remove any excess lining that has bonded to the host pipe with the Smart Sweeper+. The Smart Sweeper+ is self-adjusting, the legs open as the tool rotates and as it cuts away the lining, the legs expand.
- Grind away any excess lining using the Premium Cyclone Chains, which have twice the carbide and surface contact area of a standard Picote Cyclone. Finalize any remaining edges with the Smart Cutter.
For removing a failed lining in a 12-in. pipe the process is similar, however, you will need to first bore through the failed lining using either the 9-in. Smart Crusher+ or the 9-in. Smart Sweeper+ and then remove the excess resin and lining using the 12-in. Premium Cyclone Chains and finish off with the Smart Cutter.
The Picote Maxi Miller can be used to remove failed linings from 3-in. up to 6-in. pipes.
- For 3-in. pipes drill through the collapsed lining, using the Tiger Drill Chains, to restore partial flow, next adjust the chain to increase the bore through the lining until you can use the Tiger Cyclone Chain. Finally, finish with the Smart Cutter.
- For 4- to 6-in. pipes, you can restore partial flow using the Tiger Drill Chains and then cut out the rest of the failed lining using either the Twister Liner Remover or the Tiger Twister Liner & Concrete Remover. Finalize with the Premium Cyclone Chain and Smart Cutter.
To remove wrinkles or fins in 2- to 12-in. cured liners use the appropriate size of Smart Sweeper, followed by the Smart Cutter.
The most important thing to remember when removing failed liners is to let the tool do the work, don’t force it.