How to Keep Your Horizontal Auger Bore on Target
When it comes to trenchless construction the question always arises can you install it to hit the line and grade required for us to have a successful project. There are so many variables that play into this question. You must consider carrier size, carrier material, will it be encased, what does the encasement material need to be, what is the length, is it grade critical, and what are the soil conditions. Once you know those items then you can begin to determine which trenchless construction method to use.
For the purposes of this article, let’s focus on horizontal auger boring. There are a few different ways to keep this technology on-line and grade. However, soil conditions play a big part in how to accomplish this. In this article, I’ll cover some of the options.
Conventional Auger Boring using Windows/Shoes
(Casing diameter range 24 in. and up)
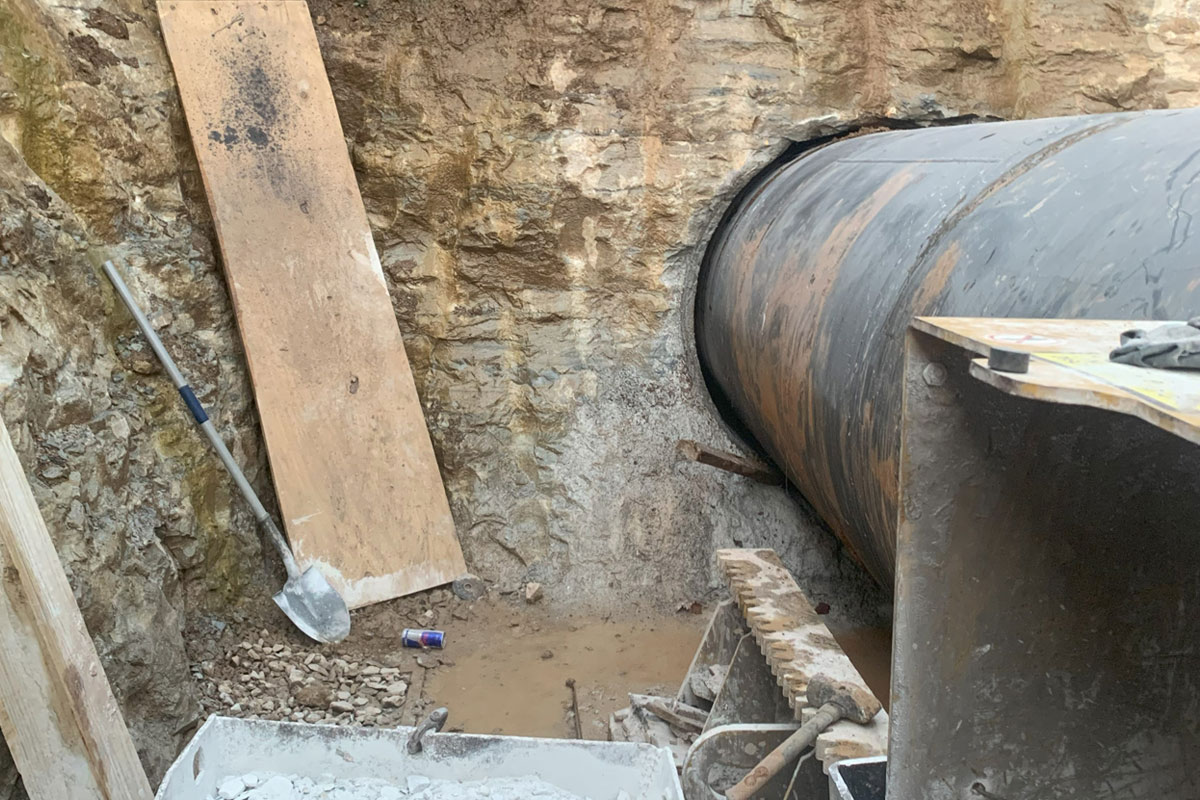
Depending on where you learned to bore you might hear both terms (windows/shoes) to describe this oldest of methods. The basic idea behind the oldest and simplest way of boring is to prepare the lead joint of casing in a fashion that allows for steering in both directions vertically, and both directions horizontally. This method requires windows/shoes to be cut into the wall of the casing, while leaving part of the leading edge attached to hinge from. The window/shoe may be opened by entering the casing and manually jacking or wedging it. The open window/shoe will then push the band or the bit into the ground in the opposing direction of the window/shoe, creating the correction.
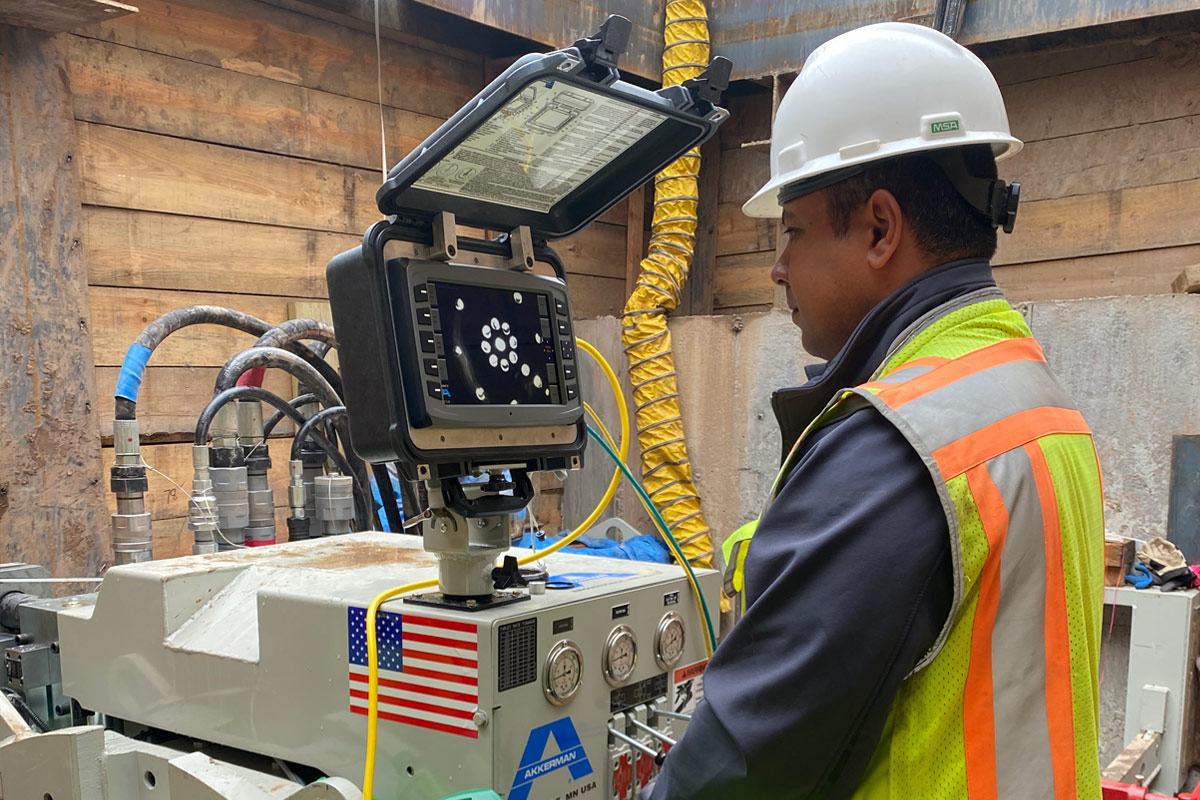
The bad part about this style of boring is the constant casing entry for surveying the exact location of the casing, and making corrections to the windows/shoes to stay the course. More recently technologies have been developed to track horizontal and vertical location along with tilt and roll of the casing in a convention style bore, without entry into the casing. This technology is remote in the bore pit and allows operators and foreman to understand the bore location before it gets off of line or grade.
If after checking alignment you determine a correction is needed, then you will manually adjust the shoe to apply pressure to try and steer the pipe in the desired direction. This process is repeated throughout the duration of the bore until completed.
For this methodology to work you must have decent ground that can provide enough resistance to the shoes to allow it to be steered. Also, the ground cannot be flowing where you cannot get to the front to manually adjust the shoes. Conventional style boring has many benefits for the contractor. For instance, there is always a full face without equipment obstructions such as pilot tube gear or a reduction can to work around at the front of the bore. This allows for larger rock and such to be removed easier.
Conventional auger boring can also be setup in the bore pit faster than other styles of boring which can lead to quicker bores if requirements are not too tight.
Guided Bore Using Pilot Tubes
(Casing diameter range 12 in. and up)
This is a newer method that has become popular over the last 20 years. This methodology requires the purchase or rental of additional equipment beyond the typical auger boring equipment. There are a few different manufacturers making this equipment, however in principle they work similarly and allow you to obtain similar results.
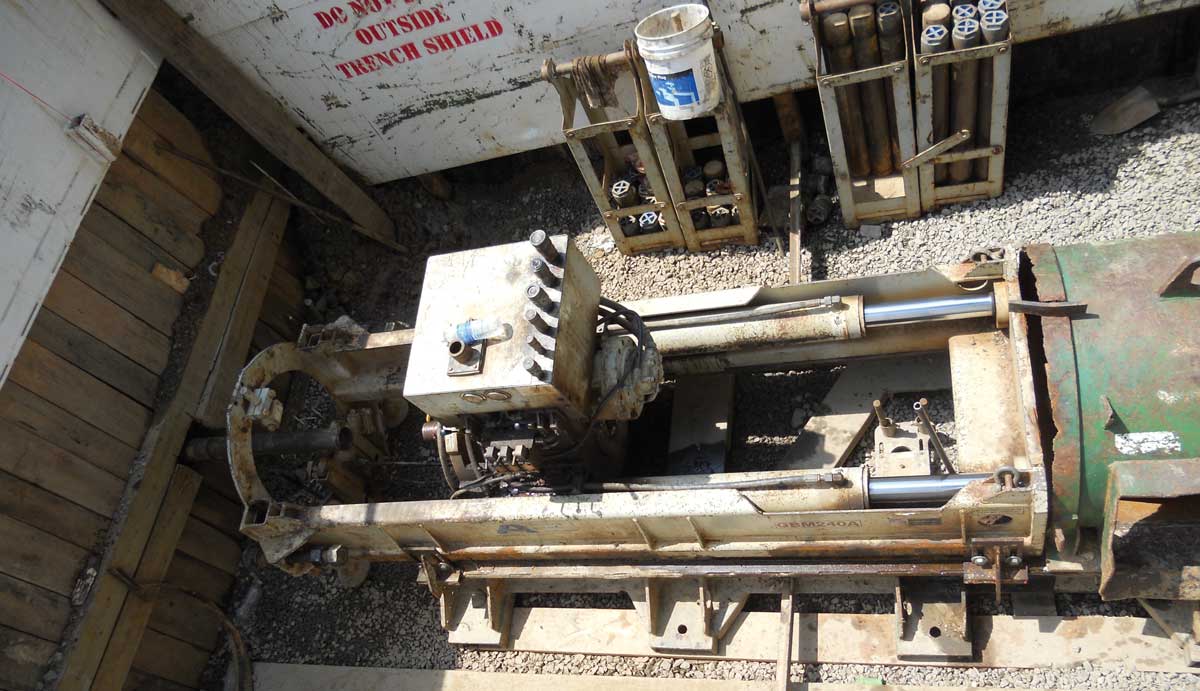
Using this method prior to starting your bore you will setup a pilot tube machine and you will install a pilot tube on-line and grade in the center of the alignment. During the pilot tube installation, you are monitoring the pilot tube installation using a theodolite setup on line and grade and watching a target in the lead pilot tube. By monitoring the target during this phase continuously you know whether the pilot is being installed on line and grade. After the tube is installed from the main working pit to the reception pit the pilot equipment is removed from the excavation. Once you setup the boring equipment in the excavation you will attach it to the pilot tubes that remain in the ground. Then as you bore the casing in it will follow the tubes so that you can install the pipe on-line and grade without having to enter the pipe and check it or enter and manually adjust the shoes/ windows. The pilot tubes may be connected to the cutting head or may be attached to a reamer attached to the front of the casing. Personal preference and soil conditions play into the selection of how the tubes will be connected to the bore.
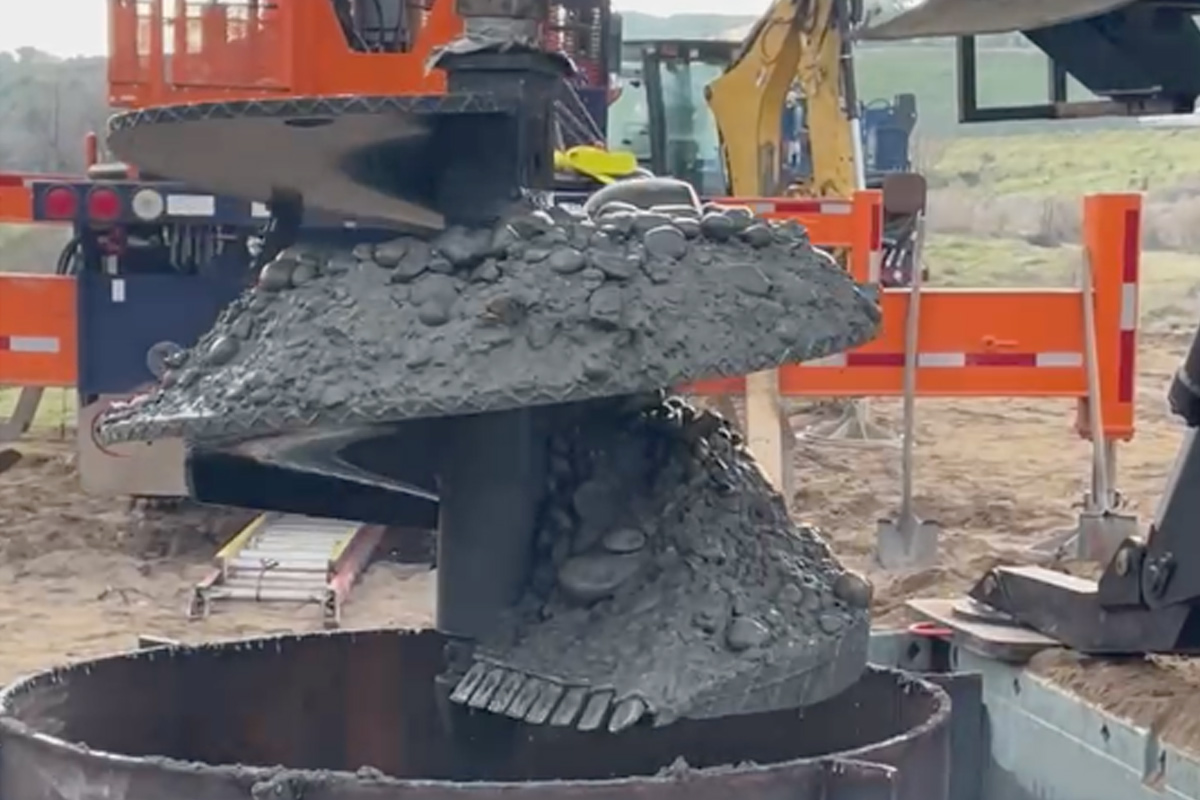
This methodology is very ground dependent as well. There are numerous heads on the lead pilot that can be used depending on the soil conditions. However, this methodology has difficulty with being successful when cobbles and boulders or man-made obstructions may be in the way of the run. As with most things uniformity in soil conditions makes a job much easier and more likely to be successful.

Steering Heads/Knuckle Heads
(Casing diameter range 18 in. and up)
This is a more traditional steering system that was developed early on to help make vertical corrections on a bore. This is more complicated than a pilot tube guided bore or simply cutting windows/shoes in the lead pipe. This methodology includes a hinged leading edge on the bore that is modified by turning a steel rod to adjust the direction the leading edge of the pipe is pointed. Many times, you still have windows or shoes cut into the pipe though to help control line. The steering head is mainly used for grade control.
Typically, this method requires you to stop and pull the augers to go in and verify your line and grade as you progress. You can use the water level to see where you are on grade, but it is a good habit to manually check as well to make sure you do not have any issues with your water level system.
This method can be difficult to operate as you have a lot more moving parts and more opportunities for failure as you progress forward in the bore. Also, you must manually keep track of how many turns up or down you have in your steering head. If you have large cobbles or boulders, you could encounter issues with the head swallowing them or even perhaps causing an increase in pressure on the components that may cause a mechanical failure.
Hydraulic Steering Heads
(Casing diameter range commonly used 24-in. and up)
This methodology is mainly done using a system called the On Target System from McLaughlin. This system can perhaps be looked at as remotely controlled version of the conventional bore using /shoes. This system is perhaps the most advanced steering system currently on the market.
This does not mean it is the best system, as everything is soil dependent and based on an operator’s comfort level with the system. For example, I know of contractors using this system to go hundreds of feet and maintain tight line and grade, however they are in great ground and have decades of experience using this system. This system is diverse especially when the casing size is larger than 36 in. in diameter. The reason for this is a 36-in. hydraulic head has a 24-in. reduced can inside and manned access to the front is possible if an obstruction is hit. Smaller than 36-in. heads are only to be used in ground that is free of obstructions.
This system runs a slightly undersized auger in the reduced can section of the lead joint of casing. The reduction is usually 6 in. on radius. The reduced can section allows for hydraulic jacks, hoses, and instrumentation to be stored and used to determine location of the bore and correct the heading remotely. It also allows for lights to be installed in the lead piece that allow you to visually check line. By having the windows be hydraulic and utilizing a water level, as well as the lights, you theoretically could bore the pipe and watch your line and grade throughout the installation and never have to go in the pipe.
Again, this is ground dependent and with the right conditions will excel and in the wrong conditions will falter especially if the casing size is below 36 in. in diameter.

New Technologies
Technologies have now entered the market that work with all of these methods and allow the operator to track the bore as the casing is installed. This newer technology allows the operator to see, in real time, where the bore is and where it is headed.
Technology is always changing and trying to keep up to date can be difficult. So, make sure you are always contacting specialists in the industry who can help you stay up to date. Also make sure you are reading trade publications such as this one.
In auger boring, the key to success is knowing where you are starting and where you want to finish. Now, how do you do those things?
Now how do I do those things?
- First, know your ground and choose the right methodology for the anticipated soil conditions.
- Second, start with a good foundation. So many people get in a hurry and do not set a good foundation for their project. If you do not set it up right, you will be in a fight the whole job.
- Third, take your time. Do not rush the work do not get in a hurry. Take your time and keep things on line and grade as you progress.
David Howell is director of rail and consulting services at Midwest Mole. Brian Sherrell is president of Allstate Boring.