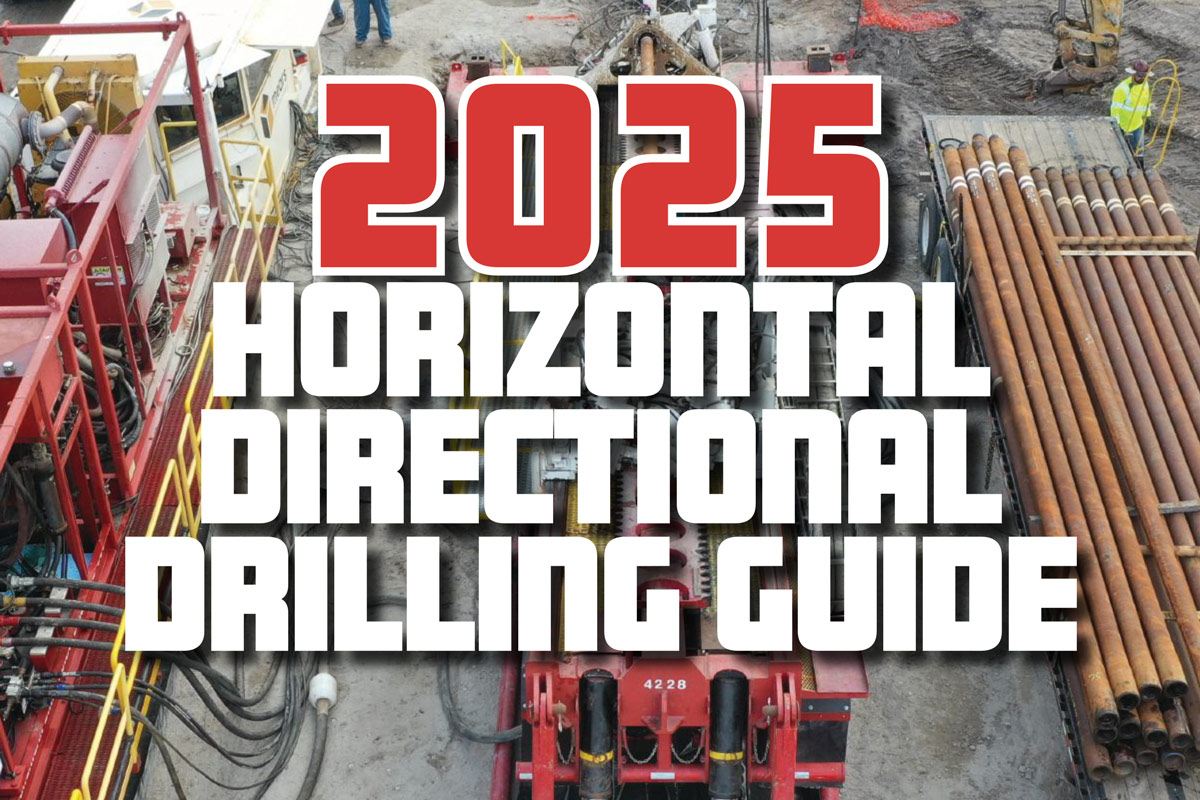
HDD Tooling & Productivity Tips: Here’s What You Need to Know

When drilling a pilot shot, it’s tempting to just “go big” to avoid getting into a sticky situation. This may have a direct impact on profitability. Inexact tooling choices might get the job done eventually — but also hamper drilling time and overall productivity, not to mention expose your HDD equipment to unnecessary wear and tear. Knowing what to look for before drilling and becoming familiar with key differences between HDD drill bits can help improve job productivity, which equals more money in your pocket and a happy boss.
Here are some steps to increasing productivity with correct tooling:
Check the size of your product against the area you’re drilling
Knowing the diameter and quantity of the pipe you’re installing is the first step in selecting the best bit for the job. Keep this knowledge in mind as you walk the path you’re planning to shoot. As you look at the depth and location of various other utility packages, evaluate the thickness of your own product and whether you’ll have the ability to weave through existing utilities or will have to circumvent them with sufficient clearance on all sides. Your goal is to drill a hole with the minimum diameter that will enable you to successfully pull product without squeezing or stretching the pipe.
Check the ground conditions
It’s impossible to know exactly what type of soil you’ll run into during your job, but it is possible to get a pretty good idea before you begin. Inspect the soil in your entry pit and receiving pits. By physically handling the dirt, you’ll get a sense of the layers of material that are running through your bore path. Of course, with all HDD jobs, there will be surprises, but having a pretty good idea upfront of the type of material you’ll be drilling will help you select the bit that will work best.
RELATED: Tech Forum: Streamline Your HDD Operations with these Two Crucial Lean Principles
Here are the types of bits you should use in each soil type:
Sand – Sand drilling requires a pointed bit with protective carbide buttons that help you snake your way through abrasive conditions. Because there’s less surface area to push off, direction changes might take a little longer. If it is a soft or running sand, you’ll want to forego the point for a blunt face and wide blade to help mitigate issues with steering.
Shale – To penetrate shale, a bit needs to break up the material and successfully move it out of the way, so a bit with sharp teeth performs ideally in these conditions. Many hard ground bits with removable carbide cutter teeth that help you get more life out of your tool. A tri-cutter bit will likely cost more up front but with the improved rate of production in shale and other hard soils it will quickly pay for itself and have a longer tool life. A typical aggressive blade will not wear as long and doesn’t have replaceable cutter teeth, so you will go through them faster. Once you realize you will wear out ten or more standard directional blades before needing to rebuild a hard ground bit, the return on your initial investment will look pretty good.
Clay – If it’s a softer clay, you’ll usually want a blade that has a wide surface area to help with steering. A harder or compact clay will require a bit with more of a point. Carbides aren’t a necessity, but it doesn’t hurt to have their extra protection.
Cobble – Drilling cobble is more about moving smaller pieces of material out of the way than it is about boring through a hard rock surface. The general rule when selecting a cobble bit is to look for a tool with dome cutters and a concave design to help roll the rocks out of the way. Trying to bust through the material will just create unnecessary wear. This is because bits with teeth extending out from their face, or those with more of a point, will tend to hang up on the cobbles or snap off all together.
Hardpan and gravel – In these challenging conditions, you will likely need something that can chew through material but also have enough surface area to facilitate direction changes without slowing down. Try using a bit with a round nose and aggressive front and side cutters to handle this type of job.
Rock – For drillable rock, you’ll want an aggressive bit with a steep taper that helps with steering, while still carving out a clean-cut path.
RELATED: Melfred Borzall Celebrates Production of 100,000 Directional Blades
Not Sure what you will run into?
There is a lot of R&D going into adjusting the specs and features of bits in the HDD industry to improve performance. There are some bits that work as an all-around bit that will take on most soils apart from rock drilling. These types of blades usually have more carbides than an average blade and a shape to handle various soil types, such as a steep taper to provide maximum flexibility in steering and cutting method.
Knowing your bore path before you begin will help you choose a bit that will give you the best shot at success. Invest in the right type of tooling that has been engineered for the specific ground condition that you are encountering on the job. Having the right bit at the ready is a smarter, faster way to work.